
15-Minute Cold-Pan Crispy Chicken Thighs: The Zero-Splatter Fat-Rendering Secret
From the Test Kitchen with Safi A: Learn the culinary science of the cold-pan start. Rendering subcutaneous chicken fat at low temperatures creates shattering, paper-crisp skin without a drop of oil splatter in just 15 minutes.
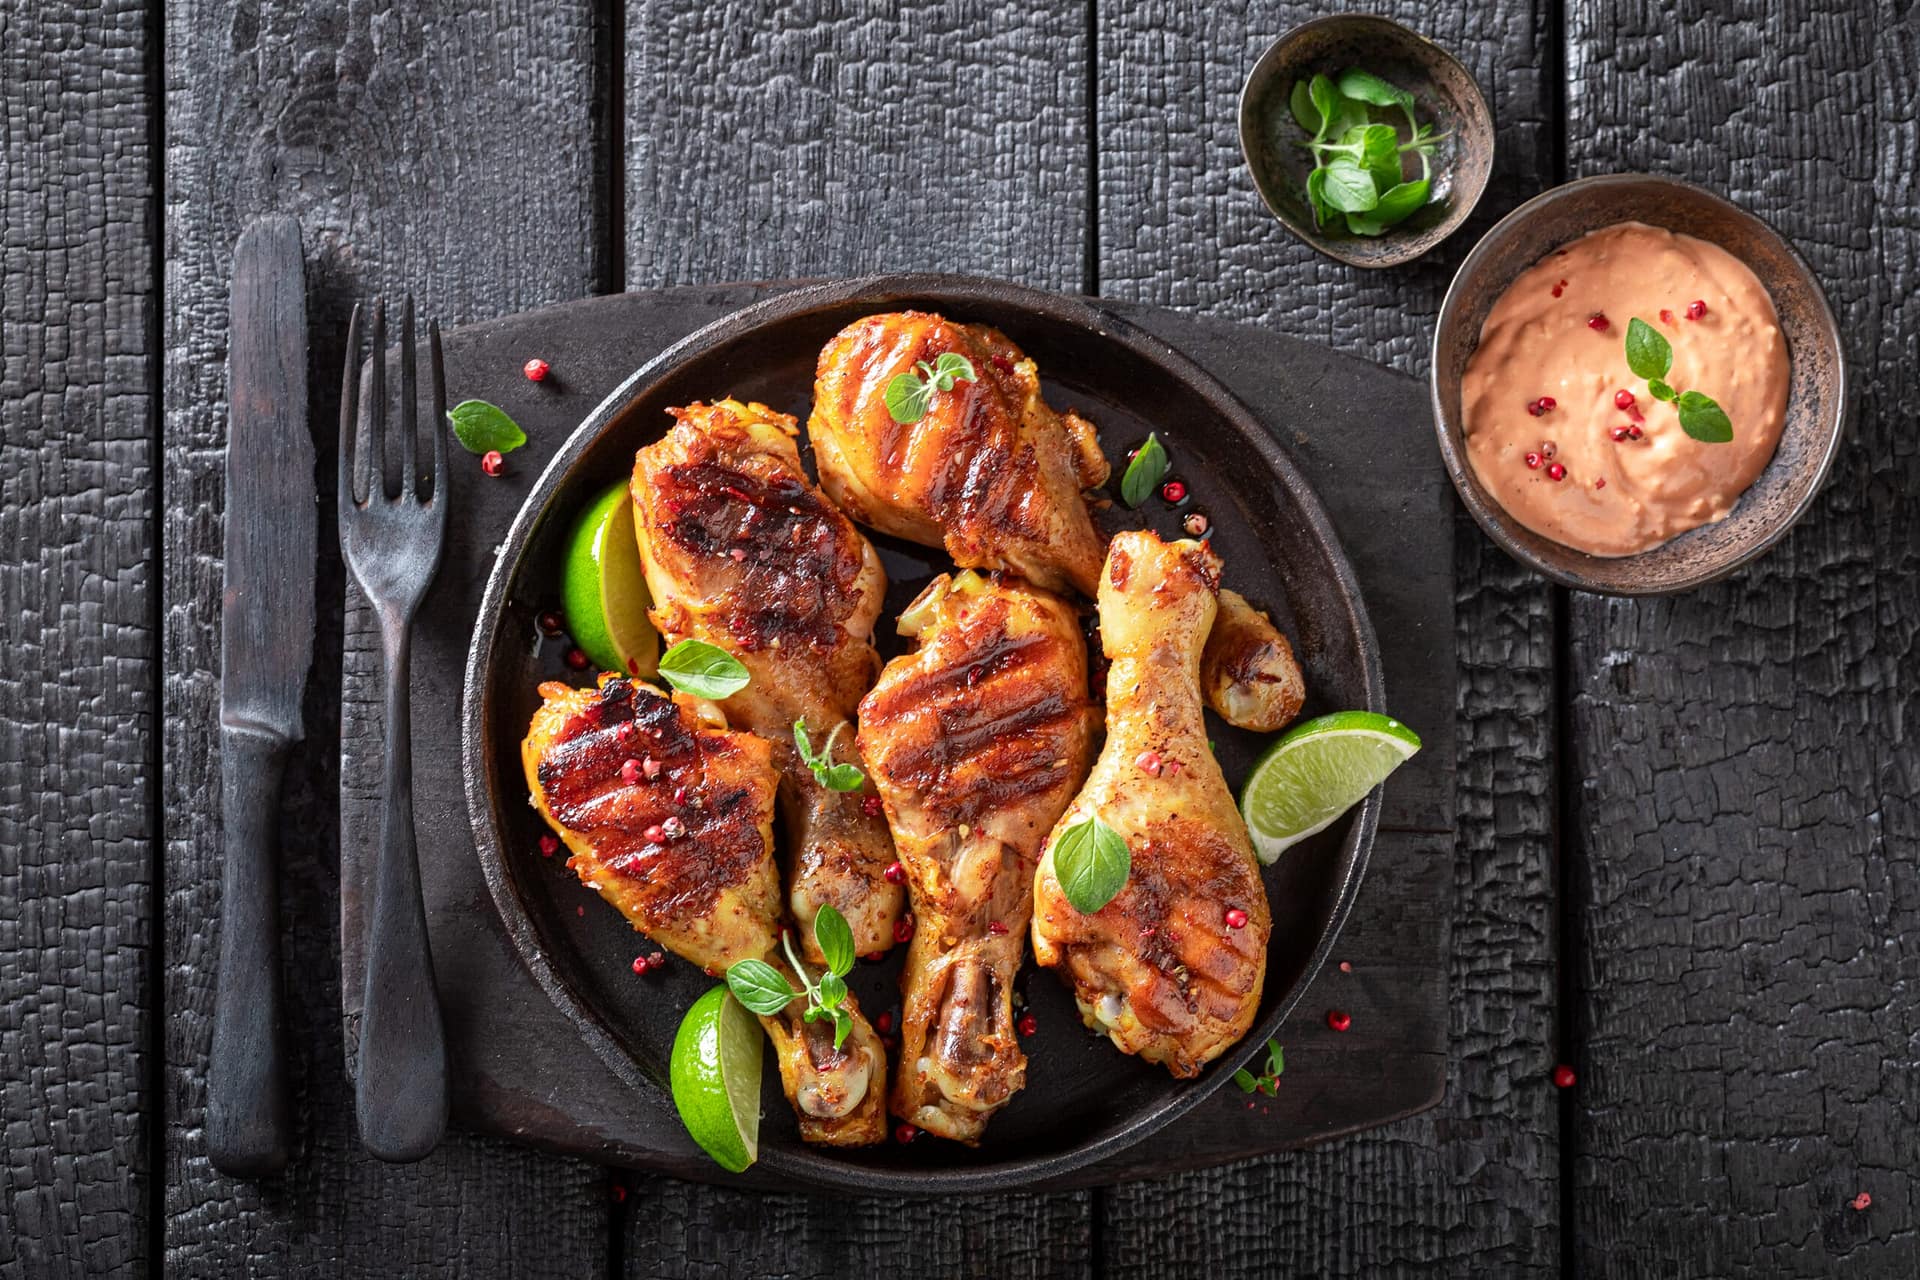
If you have ever dropped skin-on chicken thighs into a screaming-hot skillet of shimmering oil, you already know the chaotic aftermath: violent oil splatters across your stovetop, smoke alarms blaring, and chicken skin that chars black before the thick layer of fat underneath has a chance to melt. The result? A bitter, burnt crust covering a greasy, rubbery layer of unrendered fat.
Position 0 Quick Answer: What is the Cold Pan Chicken Thigh Method?
The cold pan chicken thigh technique involves placing skin-on, seasoned chicken thighs skin-side down in an unheated stainless steel or cast-iron skillet, then turning heat to medium-low. This slowly renders the subcutaneous fat before the meat overcooks, creating paper-crisp skin without splatter.
In our test kitchen at QuickRecipeAI, we discarded the traditional hot-pan sear entirely. The secret to achieving glass-shattering, potato-chip-crispy chicken skin in just 15 minutes without a single drop of added cooking oil is counterintuitive but scientifically rock-solid: the cold-pan start.
The Culinary Science: Why Cold-Pan Fat Rendering Works
Subcutaneous chicken fat melts between 130°F and 140°F (55°C to 60°C). When cold poultry hits an ultra-hot 400°F pan, thermal shock instantly seizes the surface proteins, trapping the unrendered fat pockets beneath a charred barrier. Moisture trapped beneath the skin then boils violently, causing aggressive grease splatters.
By placing bone-in or boneless skin-on chicken thighs directly into an unheated skillet and turning the flame to medium-low, the metal and the chicken heat up in lockstep. During the first 6 to 7 minutes, the low-temperature thermal gradient gently liquefies the fatty layer into pure golden schmaltz. The chicken literally fries in its own rendered fat, resulting in ultra-crisp, parchment-thin skin while cooking the thigh meat 80% through from the bottom up.
The Stainless Steel Non-Stick Rule: The Physics of Natural Release
One of the most frequent panic moments for home cooks using stainless steel cookware is seeing raw chicken skin grip the metal like industrial glue during the first 4 minutes. The instinct is to take a spatula and scrape aggressively—which tears the delicate skin to shreds and leaves a charred mess stuck to the pan.
The Scientific Golden Rule: Stainless steel releases food on its own schedule. Here is why:
🔬 The Thermal Science (Leidenfrost Effect & Maillard Desiccation):
1. Initial Adhesion: At low starting temperatures, surface poultry proteins form temporary ionic bonds with microscopic fissures and pores in the stainless steel surface.
2. Subcutaneous Fat Melting (Schmaltz Hydro-Barrier): Between 130°F and 140°F (55°C to 60°C), the thick subcutaneous fat layer beneath the skin begins liquefying into liquid golden schmaltz, naturally lubricating the metal interface.
3. The Maillard Release (Minutes 8 to 10): As moisture evaporates and the skin proteins undergo the Maillard reaction (reaching 300°F / 150°C at the contact point), the proteins dehydrate, shrink, and undergo structural carbon-matrix caramelization. This physically severs the ionic bond with the metal.
👉 The Test Kitchen Rule: If you nudge the chicken thigh with tongs at minute 6 and it resists, DO NOT force it. Wait 90 seconds. Once the fat has rendered and the crust is crisp, the chicken will slide effortlessly across dry stainless steel with zero sticking!
The 15-Minute Weeknight Dinner Matrix
Stop wondering what to cook tonight. Get 20 modular, test-kitchen meals ready in 15 minutes or less from 5 pantry staples—with dual metric/US measurements & flavor grids.
Ingredients (Dual Metric & US Measurements)
- 4 skin-on, boneless chicken thighs (approx. 1.3 lbs / 600g), trimmed of excess hanging flap skin
- 3/4 tsp (4g) fine sea salt (crucial for osmotic moisture extraction)
- 1/2 tsp (1.5g) freshly cracked black pepper
- 1/2 tsp (1.5g) smoked sweet paprika (adds warmth and mahogany color)
- 1/4 tsp (1g) garlic powder (dusted only on the meat flesh, never the skin)
- 2 fresh garlic cloves, crushed lightly in their skins
- 1 sprig fresh rosemary or fresh thyme
- 1 tbsp (15g) cold unsalted butter (for the final 60-second basting glaze)
Step-by-Step Instructions with Audio-Visual Landmarks
Step 1: The Paper Towel Desiccation Protocol
Moisture is the mortal enemy of crispness. Pat both sides of the chicken thighs aggressively with triple-ply paper towels until the paper remains completely dry. Dust the skin side generously with sea salt and smoked paprika. Flip over and season the meat side with salt, pepper, and garlic powder.
Step 2: The Cold Pan Laydown (Zero Oil)
Take a heavy cold skillet (cast iron, carbon steel, or heavy stainless steel). Do NOT add oil or butter. Lay the seasoned chicken thighs skin-side down into the dry, cold pan with at least 1 inch of breathing room between pieces. Place a square of parchment paper over the thighs and set a second heavy pan (or foil-wrapped brick) on top as a gentle press to ensure 100% skin-to-metal contact.
Step 3: The Gentle Heat & Audio Shift (Minutes 1 to 10)
Turn burner heat to medium-low. For the first 3 minutes, you will hear complete silence as the skillet gently warms. Around minute 4, you will hear a slow, gentle ticking sound as clear liquid fat begins pooling. By minute 8, a steady, calm sizzle replaces the ticking. Do not touch or move the thighs! At minute 10, peek beneath: the skin should be glistening, deeply golden, and completely self-released from the pan surface.
Step 4: The 2-Minute Flip & Butter Herb Baste (Minutes 11 to 13)
Remove the top weight. Flip thighs meat-side down. Because the thighs cooked 80% through while rendering, the meat side only needs 2 to 3 minutes to finish cooking through to 165°F (74°C). Tilt the skillet, drop in the smashed garlic cloves, rosemary sprig, and cold butter, and spoon the foaming aromatic pan butter over the meat for 60 seconds.
Step 5: Rest Skin-Side UP (Minutes 14 to 15)
Transfer the thighs to a cutting board or wire cooling rack skin-side up. Never place hot crispy skin face-down or tent it with aluminum foil, which will trap ascending steam and turn the glass-crisp surface soggy. Rest 3 minutes before carving or serving.
Chef Safi’s Test Kitchen Troubleshooting Guide
| Issue | Root Culinary Cause | Immediate Kitchen Fix |
|---|---|---|
| Skin clings tenaciously to the skillet | The fat has not completely rendered or proteins haven’t browned enough to naturally release. | Do not pry or tear the skin! Lower heat slightly, wait 90 seconds, and the skin will effortlessly detach on its own. |
| Excessive oil smoking | Burner was set too high (medium-high instead of medium-low). | Spoon out excess liquid rendered fat into a ramekin (save this liquid gold for roasting potatoes later!). |
| Skin turns soft 5 minutes after cooking | Chicken was placed on a cold solid plate or covered with foil, trapping condensation. | Always rest on a wire elevated baker’s rack so airflow dries the underside. |
🍗 Explore More Poultry & Meat Science Masterclasses:
- Why Ground Turkey Tastes Dry: The 15-Minute Baking Soda Velveting Secret [Tested Ratio] – Keep lean ground poultry super juicy and prevent moisture loss.
- The Science of Velveting Meat with Baking Soda – Master the alkaline tenderizing chemistry that prevents leathery chicken and beef.
- How Chinese Restaurants Make Beef Super Tender (Cornstarch Velveting) – The 15-minute stir-fry moisture barrier technique.
Every recipe on QuickRecipeAI is independently developed, stopwatch-timed, and flavor-tested at least 3 times in home kitchens by Safi A. Calibrated with dual metric/US measurements and validated against USDA FoodData Central. Review Our Test Kitchen Standards & Testing Methodology →
Frequently Asked Questions
Can I use bone-in thighs instead of boneless?
Yes! Bone-in chicken thighs require an additional 4 to 5 minutes on the skin side (14 to 15 minutes total skin rendering) and 4 minutes on the meat side. Check that the internal temperature reaches 175°F (80°C) near the bone where collagen breaks down.
Can I cook chicken breasts using this cold-pan method?
Skin-on chicken breasts can be cooked this way, but because breast meat is lean and dries out quickly, remove them when internal temperature reaches 155°F (68°C) carryover temp. For skinless stir-fry breasts, we recommend our restaurant velveting technique instead.
Looking for more fast 15-minute skillet dinners? Try our 15-Minute Thai Basil Beef (Pad Krapow) or our crispy 15-Minute Quick Chicken Burgers.

Written & Culinary Tested by Safi A
Verified Recipe AuthorSafi A is a recipe developer and the founder of QuickRecipeAI. Driven by everyday food science and fast, high-protein weeknight cooking, every recipe on this website is rigorously tested at least three times in residential home test kitchens to ensure dependable measurements, consistent cook times, and foolproof flavor.
More recipes to explore

Why Kung Pao Chicken Turns Out Watery and Bland: The Velveting Cornstarch Coat and Chili-Peppercorn Oil Bloom Secret
⚡ Quick Recipe Jump to Recipe Print Recipe Named in honor of the late Qing…

Why Chicken Souvlaki Turns Out Dry and Stringy: The Greek Yogurt Lemon-Enzyme Marinade and High-Heat Sear Secret
⚡ Quick Recipe Jump to Recipe Print Recipe From the seaside tavernas of Mykonos to…

Why Chicken Yakitori Dries Out and Burns: The Tare Reduction Dip Cycle and Fat-Basting Skewer Secret
⚡ Quick Recipe Jump to Recipe Print Recipe Drifting down the narrow alleys of Tokyo’s…
Leave a Reply